How to Install Vinyl Plank Flooring: A DIY Guide for US Homeowners
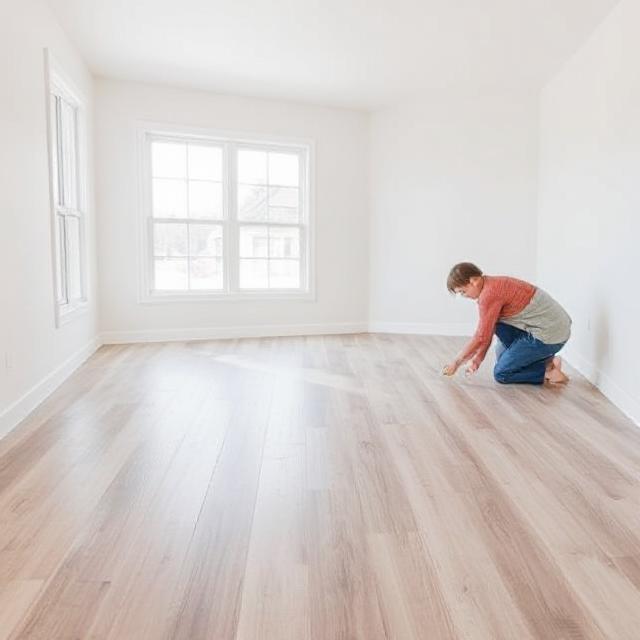
Installing vinyl plank flooring (VPL) is a popular DIY project in the USA, offering a durable and attractive floor without the complexities of traditional hardwood or tile. The two main installation methods are floating (click-lock) and glue-down. This guide will focus primarily on the floating (click-lock) method, which is more common for DIYers due to its ease of installation.

Understanding Vinyl Plank Flooring
Vinyl plank flooring is composed of multiple layers: a durable wear layer on top, a decorative print layer that mimics wood or stone, a robust core layer (often WPC or SPC for added stability), and a backing layer. This construction provides excellent resistance to water, scratches, and dents, making it ideal for various rooms in a typical US home.
Tools and Materials You’ll Need
Before starting, gather all your tools and materials to ensure a smooth installation process.

Essential Tools:
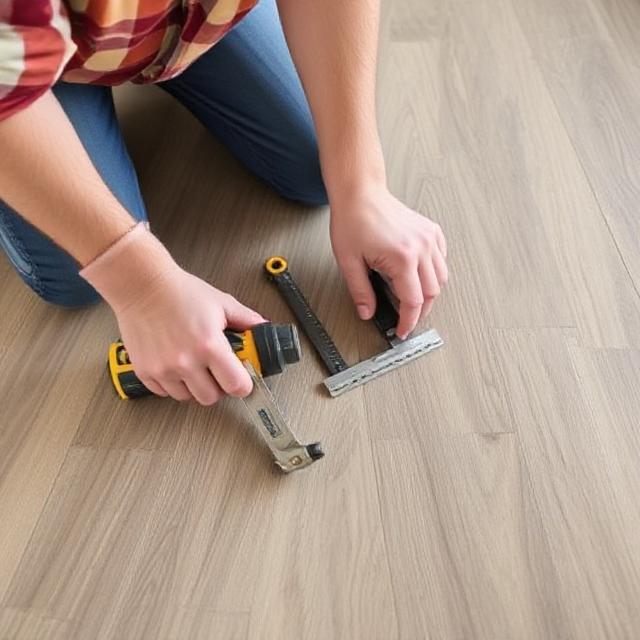
- Measuring Tape: For accurate room and plank measurements.
- Utility Knife and Blades: For scoring and cutting planks. Have plenty of sharp blades.
- Straightedge: A metal ruler or T-square for guiding your utility knife for straight cuts.
- Spacers: To maintain the required expansion gap around the room’s perimeter.
- Tapping Block: A piece of scrap vinyl plank or a specialized block to protect the plank edges while tapping.
- Rubber Mallet: For gently tapping the tapping block to secure planks.
- Pull Bar: Used to pull the last planks in a row tightly together when near a wall.
- Pencil: For marking cuts.
- Safety Glasses and Knee Pads: Essential for comfort and safety.
- Broom or Vacuum: For thorough subfloor cleaning.
Optional (but Recommended) Tools:
- Vinyl Plank Cutter (Guillotine Style): Makes cutting planks much faster and cleaner, especially for thicker SPC/WPC planks.
- Jigsaw or Oscillating Multi-Tool: For intricate cuts around doorframes, pipes, or curved areas.
- Moisture Meter: To check subfloor moisture levels, particularly for concrete.
Materials:
- Vinyl Plank Flooring: Ensure you purchase about 10-15% extra for cuts, waste, and future repairs.
- Underlayment (if required/desired): Some VPL has an attached underlayment; otherwise, you may need a separate one for sound dampening or comfort.10
- Transition Strips/Molding: For doorways or where VPL meets other flooring types.
- Baseboards or Quarter-Round Molding: To cover the expansion gap along walls.
- 100% Silicone Caulk: For sealing expansion gaps in moisture-prone areas (bathrooms, kitchens).
Pre-Installation Steps
Proper preparation is the most critical part of a successful vinyl plank flooring installation.
- Acclimation:
- Bring your vinyl plank flooring into the room where it will be installed at least 48 hours (or as per manufacturer’s instructions) before installation.
- Lay the unopened boxes flat to allow the planks to acclimate to the room’s temperature and humidity.11 This helps prevent expansion or contraction issues after installation. The ideal temperature range is typically 65-85°F (18-30°C).12
- Clear the Room:
- Remove all furniture, appliances, and existing floor coverings (carpet, old vinyl, etc.).
- Carefully remove existing baseboards or quarter-round molding.13 Use a pry bar and score any paint/caulk lines first to avoid damaging the walls. Label them if you plan to reinstall them in the same spots.
- Prepare the Subfloor:
- Cleanliness: Thoroughly sweep and vacuum the entire subfloor to remove all dust, dirt, and debris. Any small particles left behind can create bumps under the new flooring.
- Flatness: This is crucial! The subfloor must be flat within 1/8 inch over a 6-foot span, or 1/16 inch over a 1-foot span.
- High Spots: Sand down high spots on wood subfloors.14 For concrete, you may need a grinder or leveler.
- Low Spots/Gaps: Fill low spots, cracks, or gaps with a cement-based patching compound for concrete, or a wood filler/leveling compound for wood subfloors. Allow ample drying time.
- Structural Soundness: Ensure the subfloor is structurally sound, stable, and free of rot, excessive movement, or loose areas. Secure any loose subfloor sections with screws.
- Moisture Testing (Especially for Concrete): Use a concrete moisture meter to check for excessive moisture.15 If readings are high, a moisture barrier (typically a 6-mil polyethylene sheeting) may be required or highly recommended by the manufacturer to prevent moisture from wicking up.
- Install Underlayment (if necessary):
- If your vinyl planks don’t have an attached underlayment and you desire additional sound dampening, comfort, or moisture protection, roll out the underlayment according to the manufacturer’s instructions.16
- Typically, underlayment rolls are laid side-by-side, with seams butted together or overlapped (depending on the type) and taped.17 Trim excess around the perimeter.
- Plan Your Layout:
- Direction: Most installers recommend laying planks parallel to the longest wall in the room, or parallel to the main light source (windows) to minimize visible seams.18
- Starting Wall: Identify your starting wall. Ideally, this is the longest, straightest wall with a prominent doorway.
- Row Width: Measure the room’s width and divide by the width of one plank. If the last row will be very narrow (e.g., less than 1/3 of a plank’s width), consider cutting down the first row slightly so that both the first and last rows are of a more substantial, balanced width.
- Staggering Joints: To achieve a natural look and enhance structural integrity, stagger the end joints of adjacent rows by at least 6-8 inches (or as recommended by the manufacturer).19 Avoid “H” patterns where seams perfectly align.
Floating (Click-Lock) Installation Steps
This is the most common DIY method, where planks interlock and “float” above the subfloor without being glued down.
- The First Row:
- Trim the Tongue: For the first row, you’ll typically need to trim off the short tongue edge of the planks that will face the wall.20 Use your utility knife and straightedge, scoring deeply multiple times before snapping the piece off. This allows the plank to sit flush against the wall and maintain the expansion gap.
- Placement: Begin in a corner, placing the first plank with the trimmed edge facing the wall. Use spacers (1/4 to 1/2 inch, depending on manufacturer specs) between the plank and the wall to maintain the required expansion gap.21 This gap allows the flooring to expand and contract with temperature and humidity changes without buckling.22
- Connecting Planks: Take the second plank and angle its short end (tongue) into the short end (groove) of the first plank. Press down firmly to lock them together. Continue this for the entire first row.
- Cutting the Last Plank: Measure the distance to the wall for the last plank in the row, subtracting the expansion gap. Cut the plank to size. If the leftover piece is at least 6-8 inches long, you can use it to start the next row (this helps with staggering).
- Subsequent Rows:
- Start with a Cut Piece: Begin the second row using the leftover piece from the first row’s cut (if it’s long enough, at least 6-8 inches). If not, cut a new plank to create a suitable stagger.23
- Angle and Lock: Angle the long edge (tongue) of the new plank into the groove of the plank in the previous row.24 Lower it down and gently tap along the seam with a tapping block and rubber mallet to ensure a tight, seamless connection.25
- Connect Ends: Once the long edge is engaged, slide the next plank in the row into place, angling its short end into the previous plank in the same row, then pressing down to lock. Continue this process, connecting both the long and short edges.
- Maintain Stagger: Always ensure the end joints are staggered by at least 6-8 inches from the previous row’s seams. This is crucial for stability and appearance.
- Work Across the Room: Continue laying rows, ensuring tight seams and proper staggering, until you reach the opposite wall.26
- Cutting Around Obstacles:
- Door Frames: Use a scrap piece of vinyl plank and an underlayment (if applicable) to mark the exact height to undercut your door jambs with a handsaw or oscillating multi-tool.27 This allows the vinyl plank to slide underneath for a clean finish without needing awkward cuts around the jambs.
- Pipes: Measure and mark the pipe’s location on the plank. Drill a hole slightly larger than the pipe’s diameter (allowing for a small expansion gap).28 Then, cut a straight line from the edge of the plank to the hole, and another straight line from the other side of the hole back to the same edge. Install the main plank, and then glue the small cut-out piece back into place behind the pipe using a strong adhesive or silicone.
- The Final Row:
- Measure and Cut: Measure the distance from the second-to-last row to the wall, remembering to subtract the expansion gap. Use your utility knife and straightedge to cut the final planks lengthwise.
- Use a Pull Bar: For the last row, it can be challenging to tap the planks from the side. A pull bar is invaluable here. Place the hooked end against the wall (or a spacer) and the flat end against the edge of the plank. Tap the pull bar with your mallet to draw the final planks tightly into place.29
Finishing Touches
- Remove Spacers:
- Once all planks are installed, remove all the spacers from around the perimeter of the room.
- Install Molding:
- Reinstall your baseboards or install quarter-round molding.30 These pieces will cover the expansion gap you left along the walls, providing a finished look. Attach them to the wall, not the flooring, to allow the floor to float freely.
- Install Transition Strips:
- At doorways or where your vinyl plank meets other flooring types, install appropriate transition strips (e.g., T-molding for same-height floors, reducer for different heights). Follow the manufacturer’s instructions for securing these.
- Seal Wet Areas (Optional but Recommended):
- In bathrooms, kitchens, or other high-moisture areas, apply a bead of 100% silicone caulk in the expansion gap around the perimeter before installing baseboards. This provides an extra layer of moisture protection.
Glue-Down Installation (Brief Overview)
While floating is common for DIY, glue-down vinyl plank offers maximum stability and is often used in commercial settings or for thin, flexible vinyl planks.31
- Subfloor: Requires an even flatter, cleaner subfloor than floating installations as any imperfections will telegraph through.
- Adhesive Application: A specialized flooring adhesive is spread onto the subfloor using a trowel.
- Laying Planks: Planks are laid into the wet adhesive, often starting from the center of the room.32 A floor roller (75-100 lbs) is used to ensure a strong bond and remove air bubbles after installation.33
- Curing Time: Adhesive requires specific curing times before heavy foot traffic or furniture.34
Important Tips for Success:
- Read Manufacturer’s Instructions: Always, always read the specific installation guide provided by your vinyl plank flooring manufacturer. Guidelines can vary slightly between brands and products.
- Work from Multiple Boxes: Open and mix planks from several boxes as you go. This helps ensure a natural blend of colors and patterns, as variations can occur between batches.
- Measure Twice, Cut Once: Take your time with measurements and cuts to minimize waste.
- Cleanliness: Keep your work area and the subfloor as clean as possible throughout the process.
- Safety First: Wear safety glasses, knee pads, and gloves.35 Use caution when using sharp tools.
- Patience: Don’t rush the process. A meticulous installation will result in a beautiful, long-lasting floor.
By following these steps and paying close attention to detail, you can successfully install vinyl plank flooring in your US home, enjoying a durable and attractive new surface for years to come.


